Call Your Contract
Now that your contract has been fully deployed, we can start interacting with it!
Flipper only has two functions, flip() and get() so we will show you what it's like to play with both of them.
1. get() function
We set the initial value of the Flipper contract value to false when we instantiated the contract.
Let's check that this is the case.
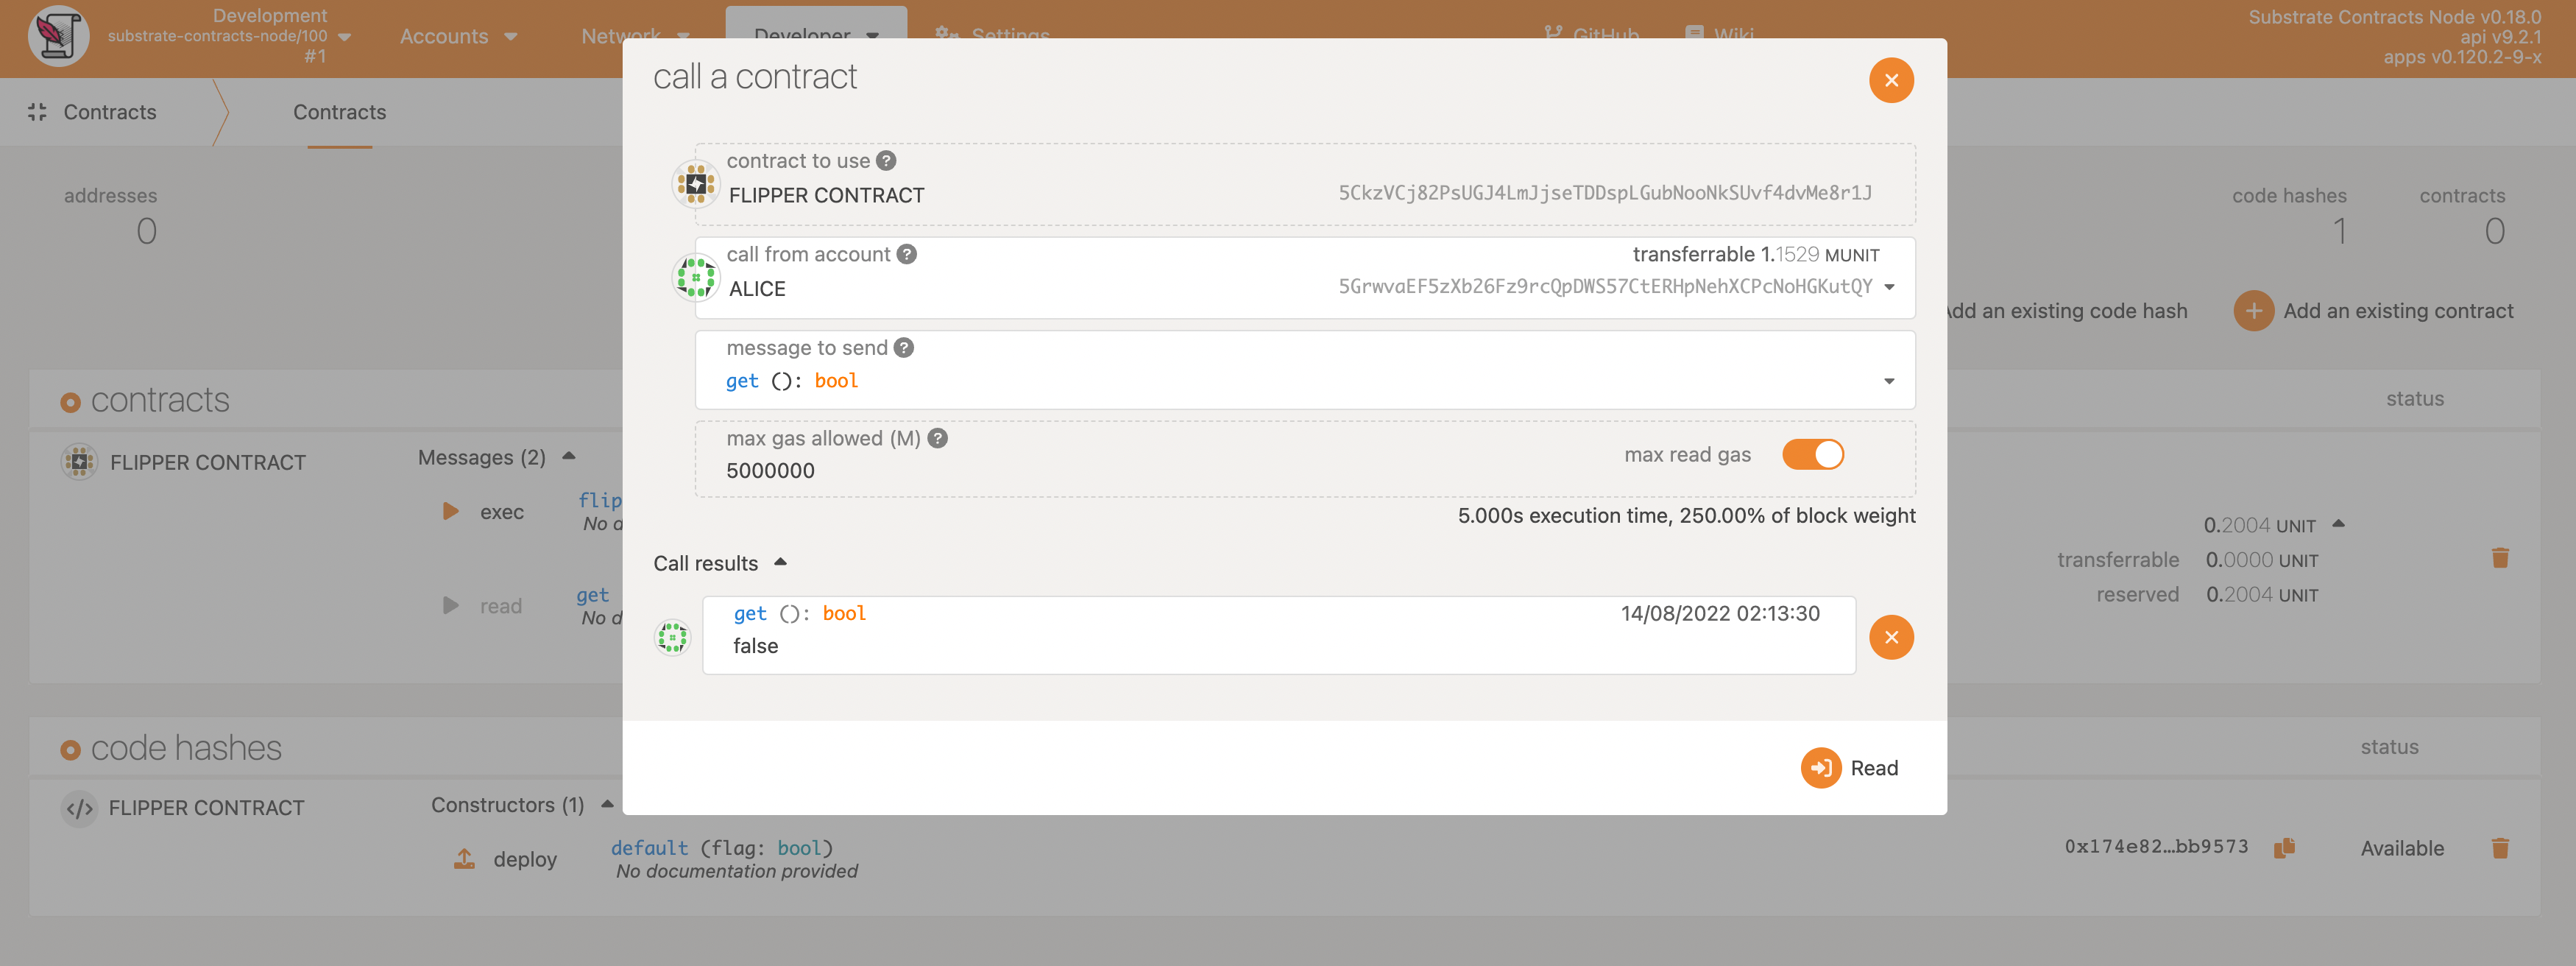
In the Messages section, select the exec button and select the "get(): bool" message and accept the default values for the other options.
Press Read button and confirm that it returns the value false:
2. flip() function
So let's make the value turn true now!
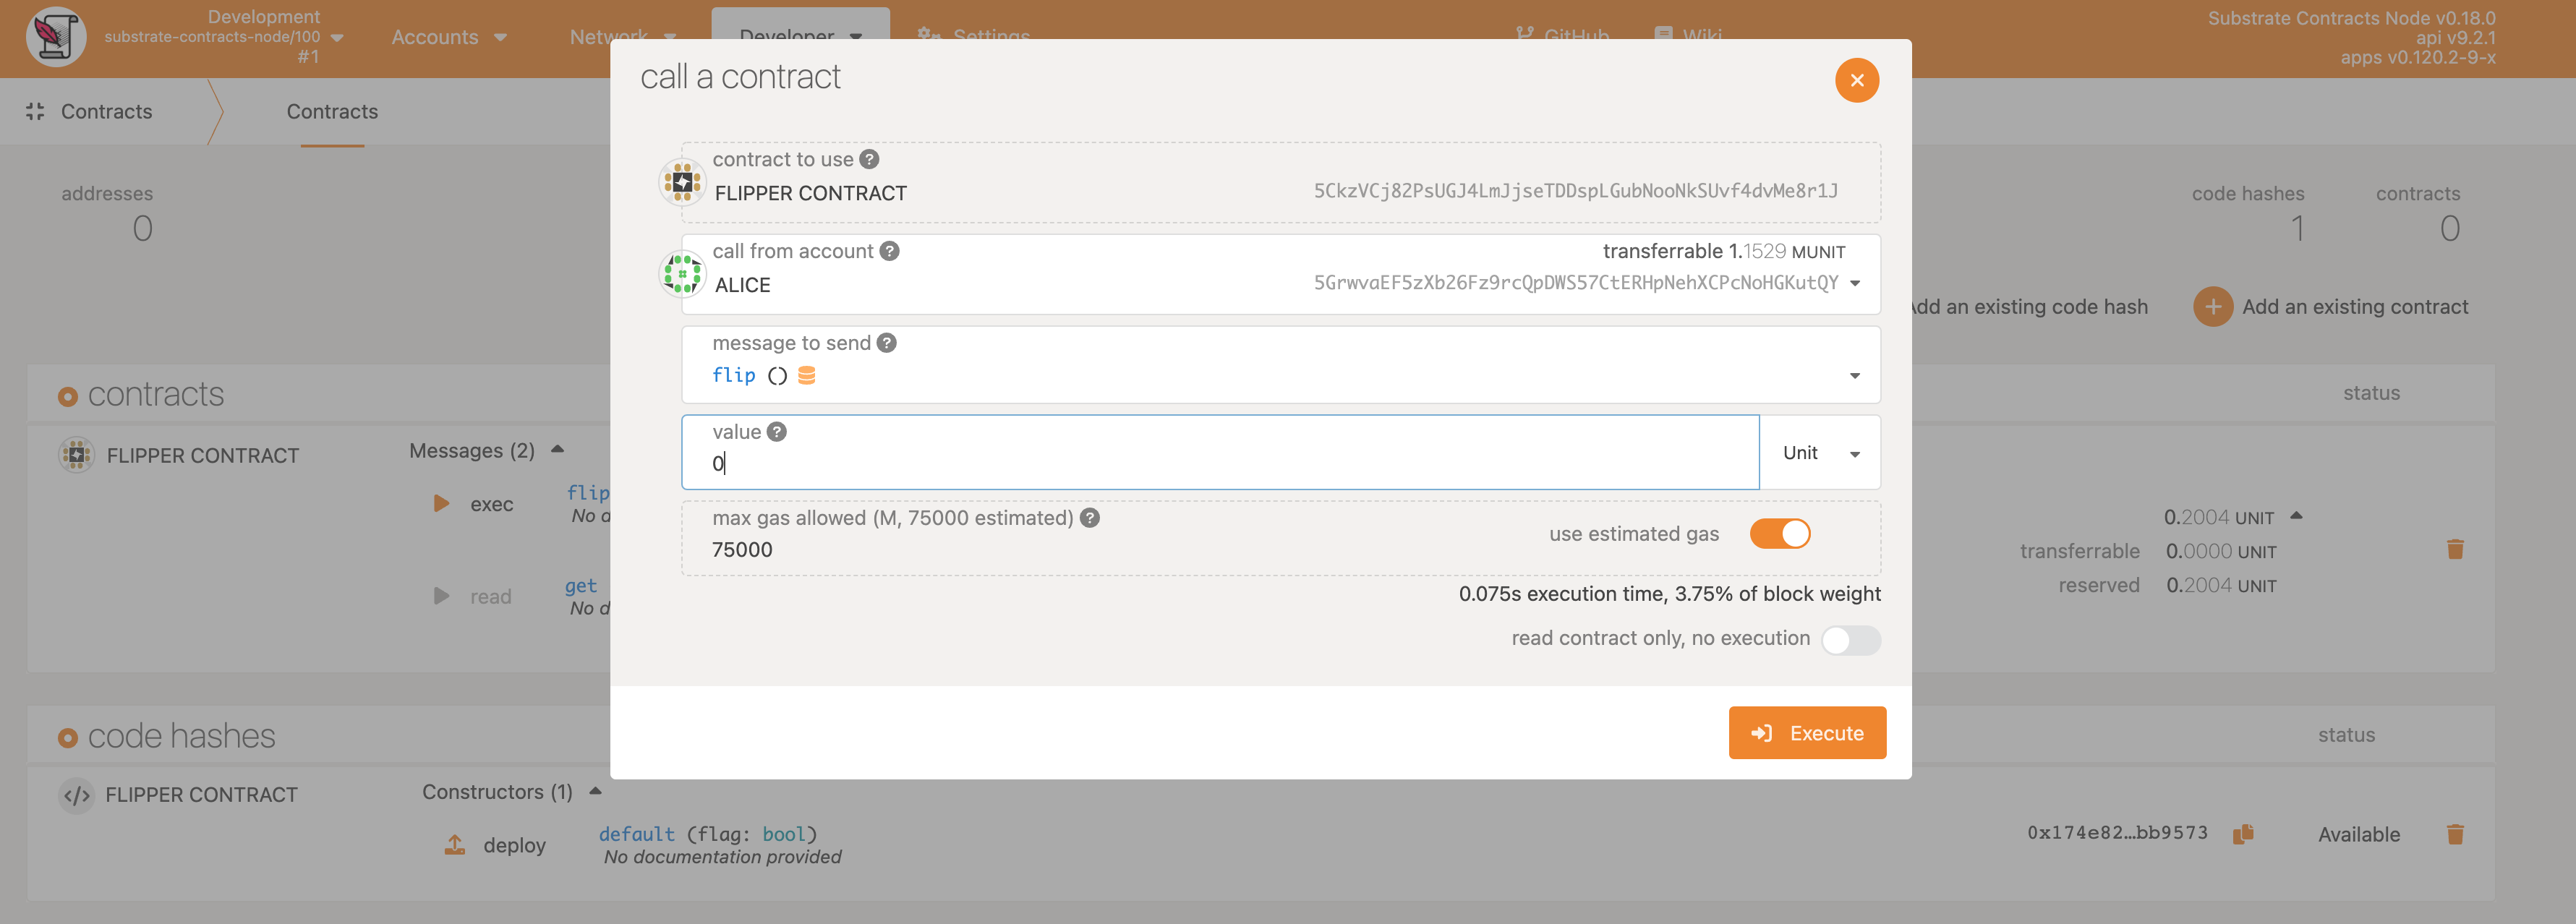
The alternative message to send with the UI is flip().
Again, select the exec button and select the "flip()" message and accept the default values for the other options.
Press Execute button, and then sign and submit the transactoin.
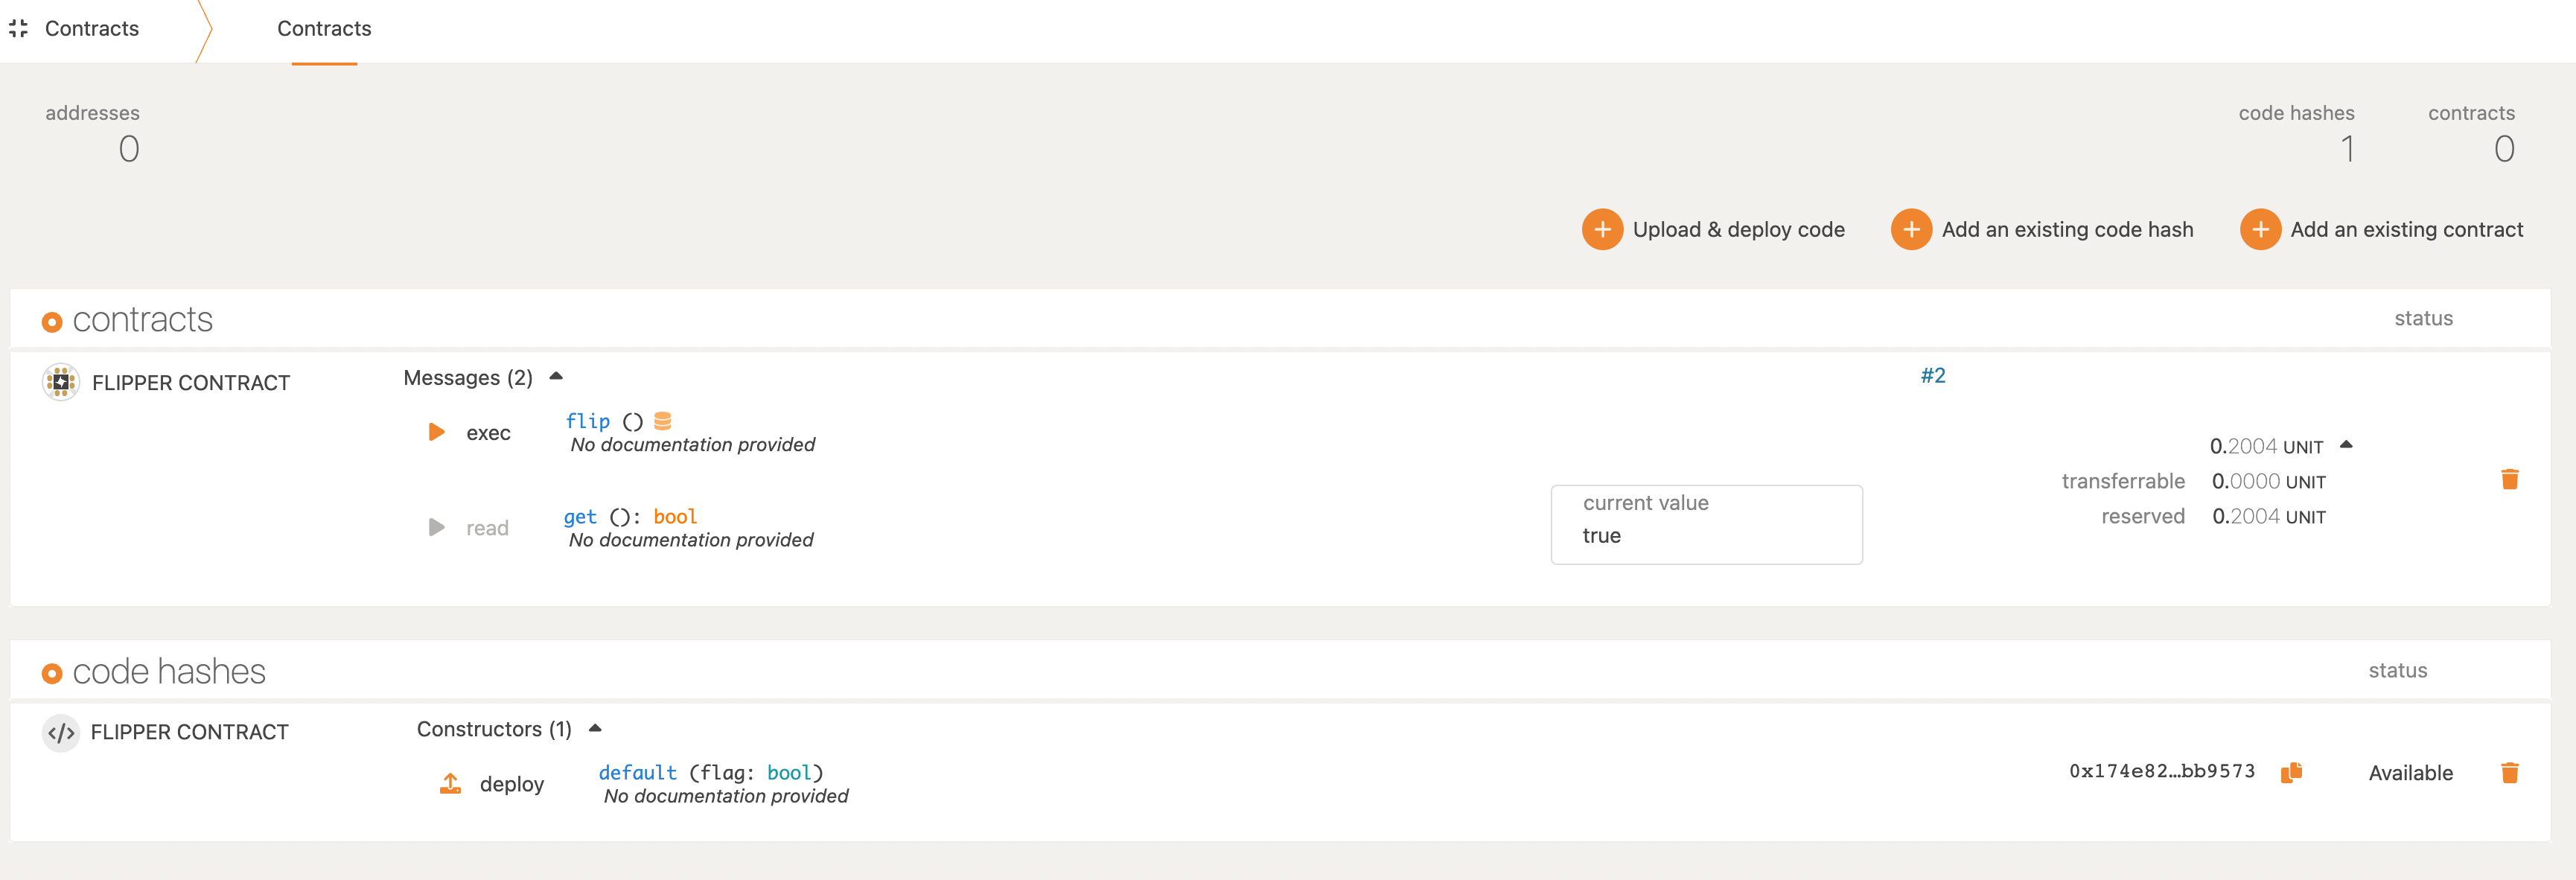
If the transaction was successful, we should then be able to go back to the get() function and see our updated storage: